
This recipe for perfect roast turkey is an excellent choice if you're in the market for a classic "picture book" version of the holiday table centerpiece. And the method for achieving both that glorious golden brown presentation at the table as well as fabulous turkey flavor on the plate? The secret is simply salt and butter. Dry-brining does most of the magic, and a generous layer of herb butter completes the trick.
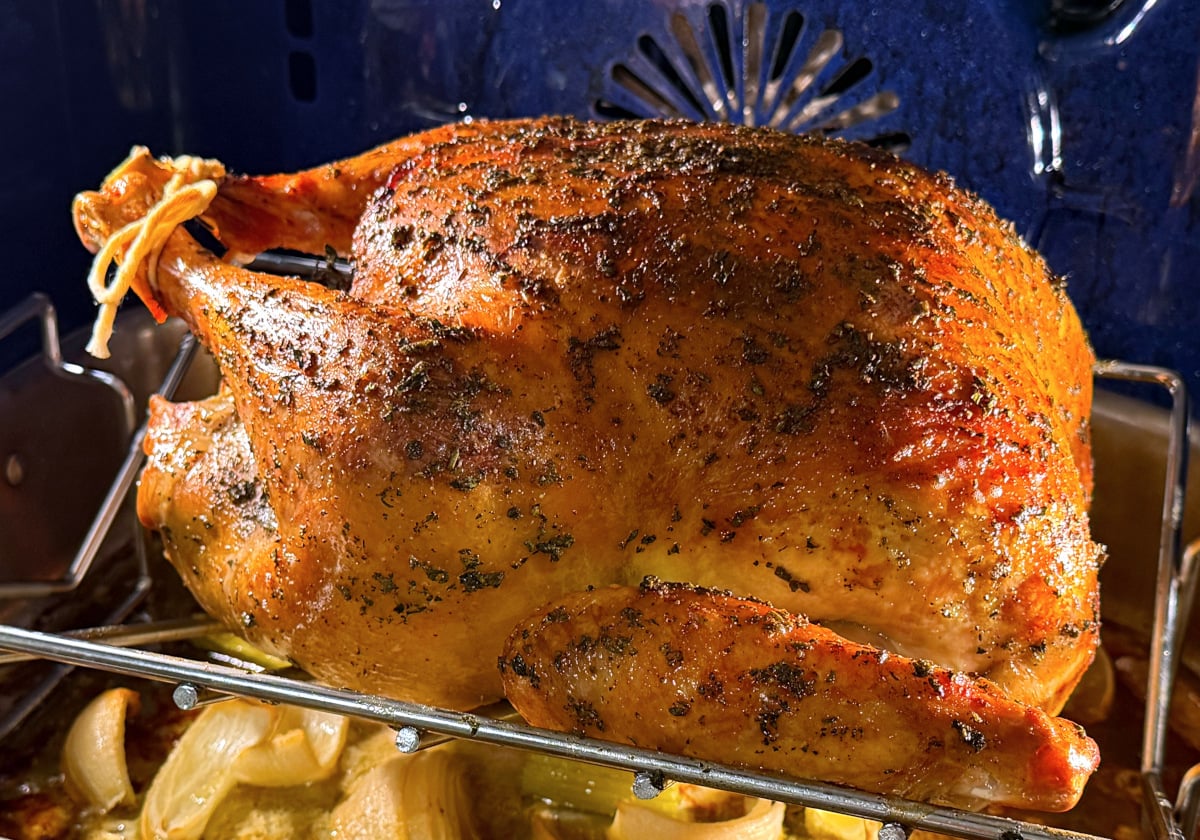
This perfect roast turkey deserves some rich and creamy homemade turkey gravy made from...you guessed it...easy homemade turkey broth!
Jump to:
Ingredients for Perfect Roast Turkey
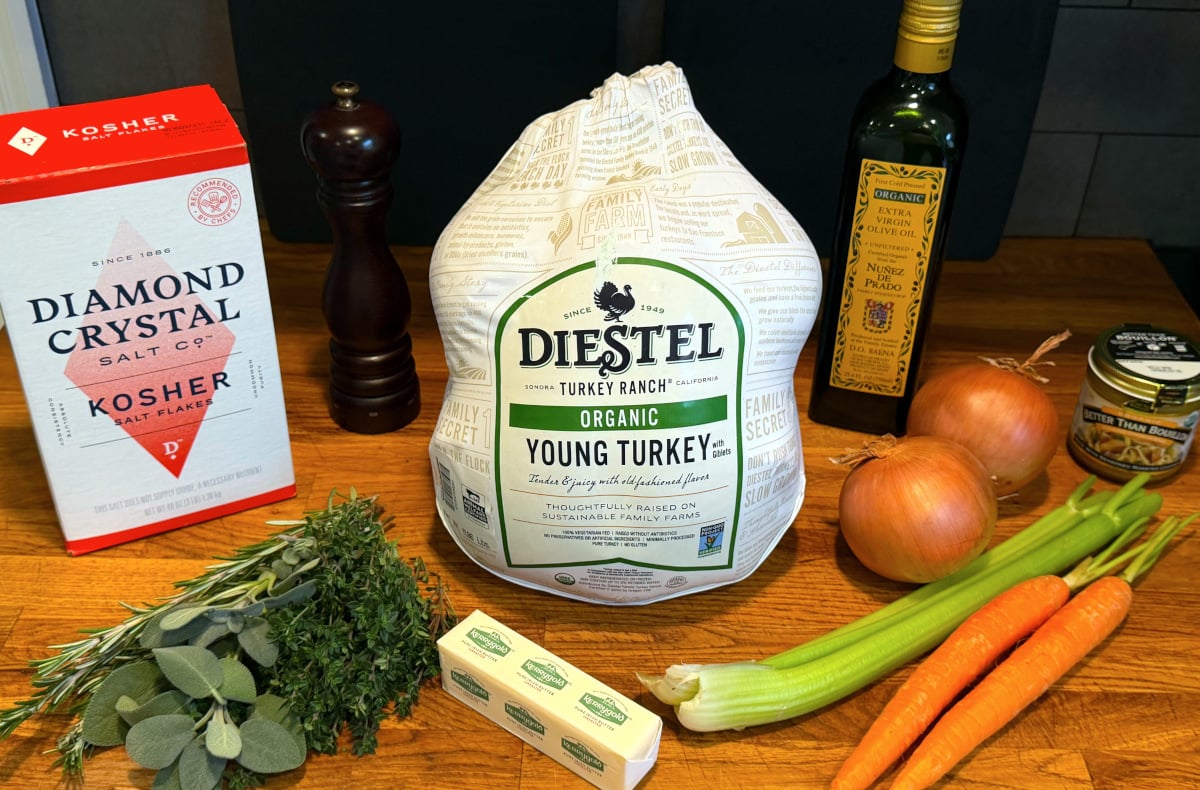
- whole turkey
- kosher salt
- unsalted butter
- extra virgin olive oil
- fresh herbs (thyme, sage, and rosemary)
- fresh ground black pepper
- yellow onions
- carrots
- celery
- turkey or chicken broth or stock (or white wine)
See recipe card for quantities.
Instructions for Perfect Roast Turkey
Dry brining the turkey and preparing the herbed butter
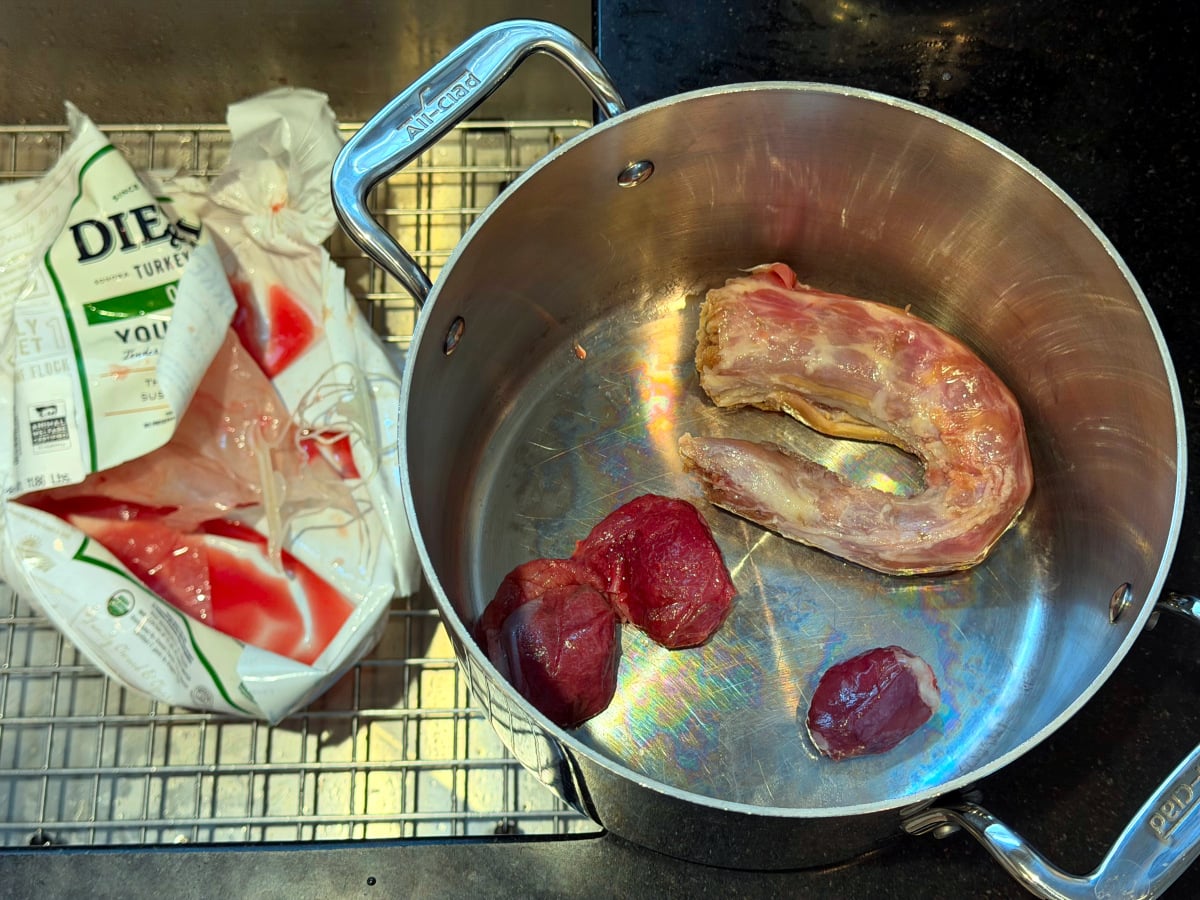
Take the turkey out of its packaging. Remove the giblet packet and neck (if present in the cavity), as well as any nylon truss (or other item) used for holding the legs together. Reserve and set aside the giblets (except the liver) and the neck for later preparing the gravy.
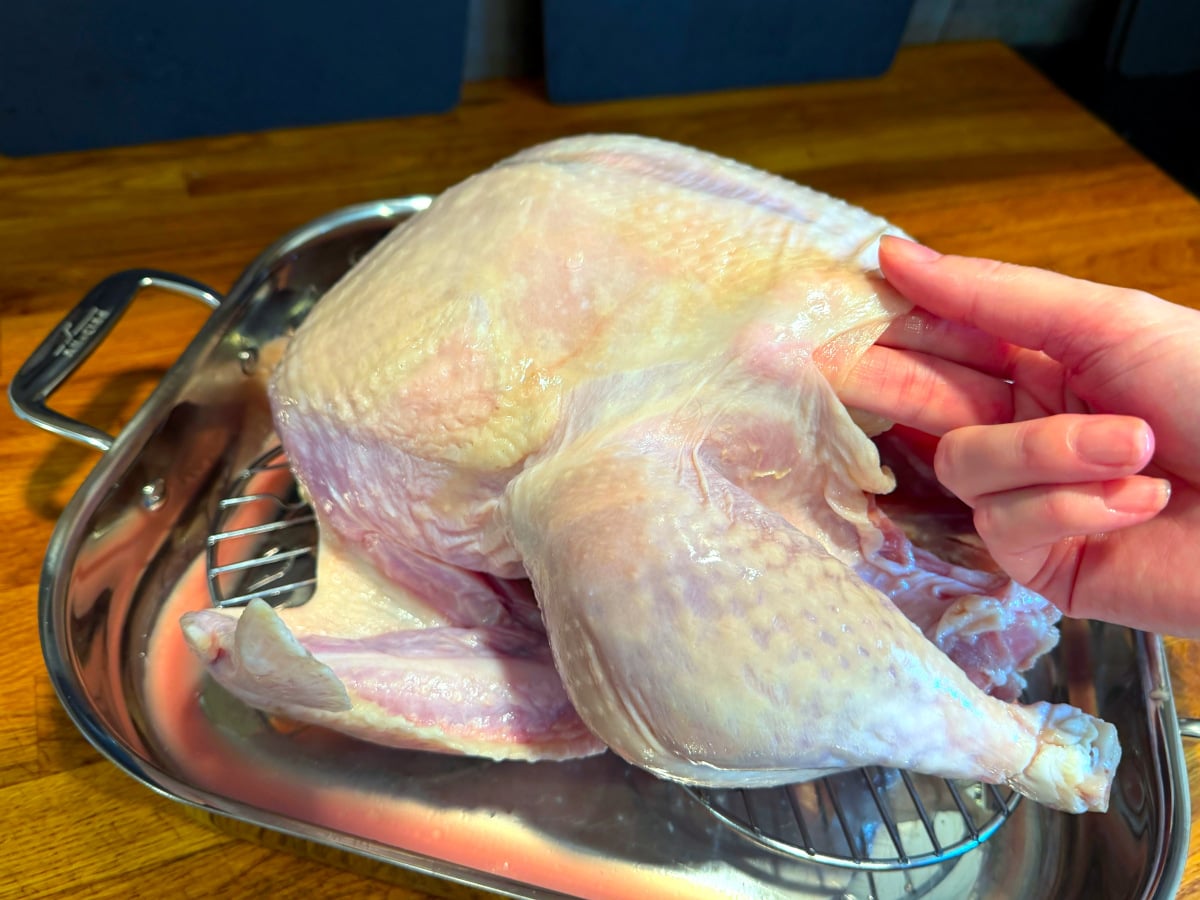
Place the turkey on a rimmed baking sheet (or other shallow pan) lined with a flat rack (or combination of flat racks). Then gently separate the skin from the breast, ultimately working your hand between the skin and the meat from both ends of the bird.
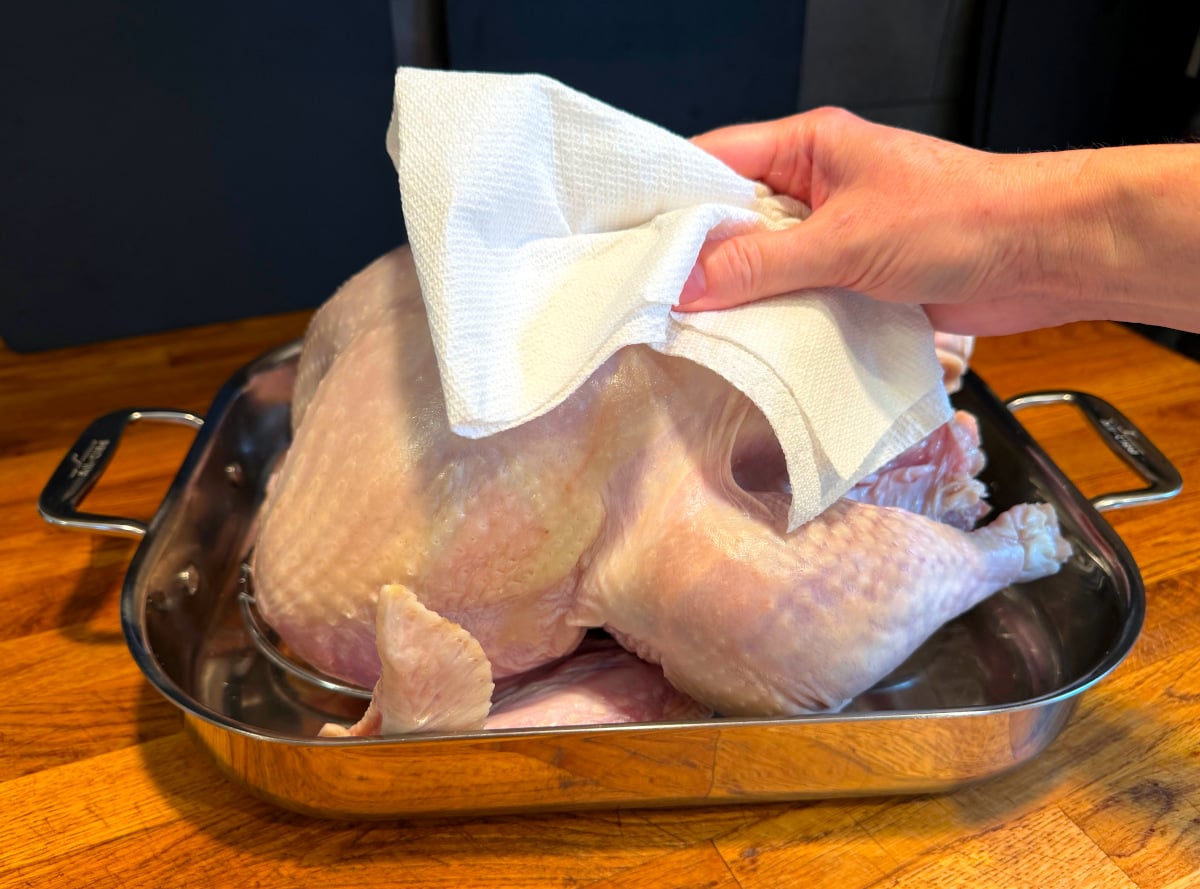
Pat the entire turkey dry with paper towels. Then rub about a tablespoon of salt under the skin of each breast.
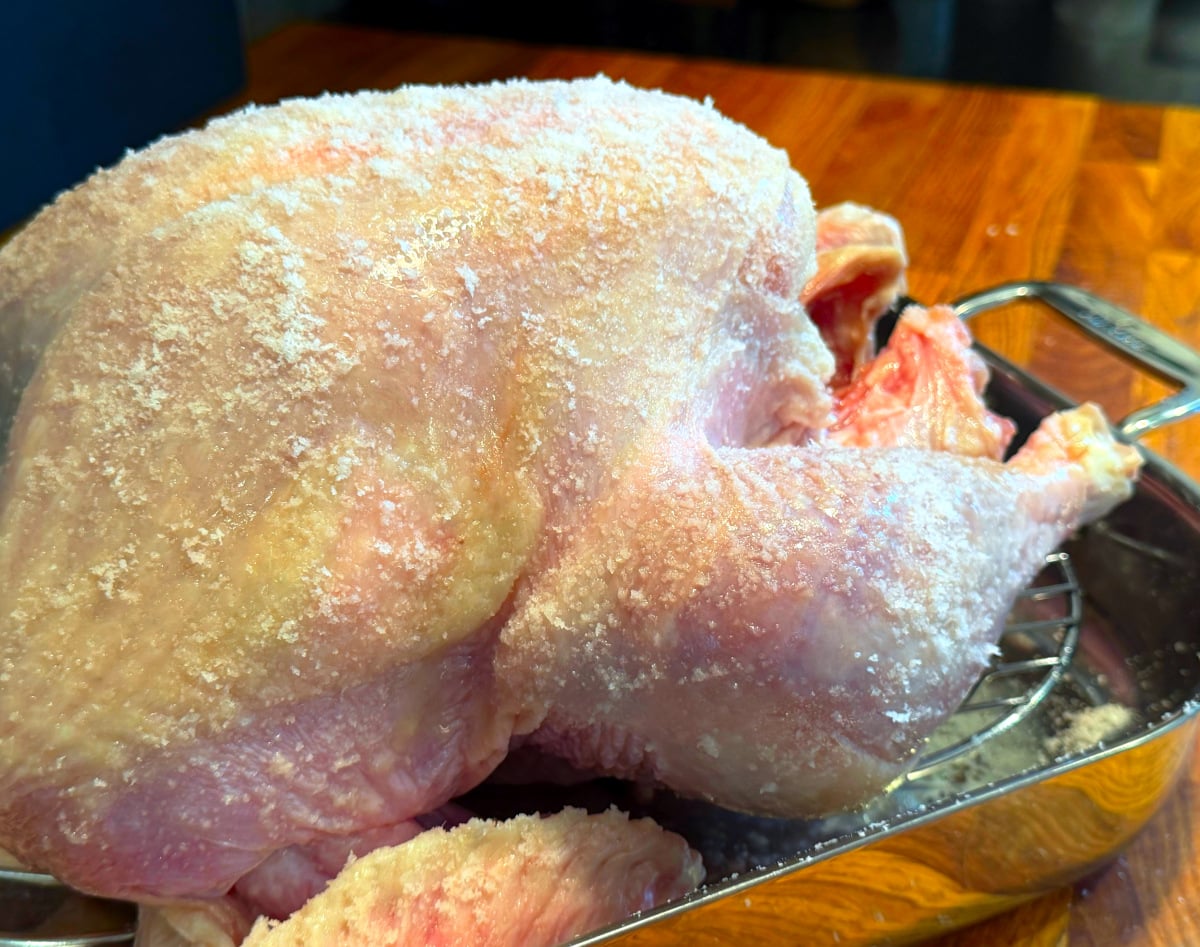
Sprinkle the rest of the salt over the entire outside of the bird, being sure to thoroughly cover the breast and thigh areas in particular. (Start by salting the back, and then flip it over to the front, tucking the wings behind the neck and underneath the turkey before finally salting the across the breast meat.)
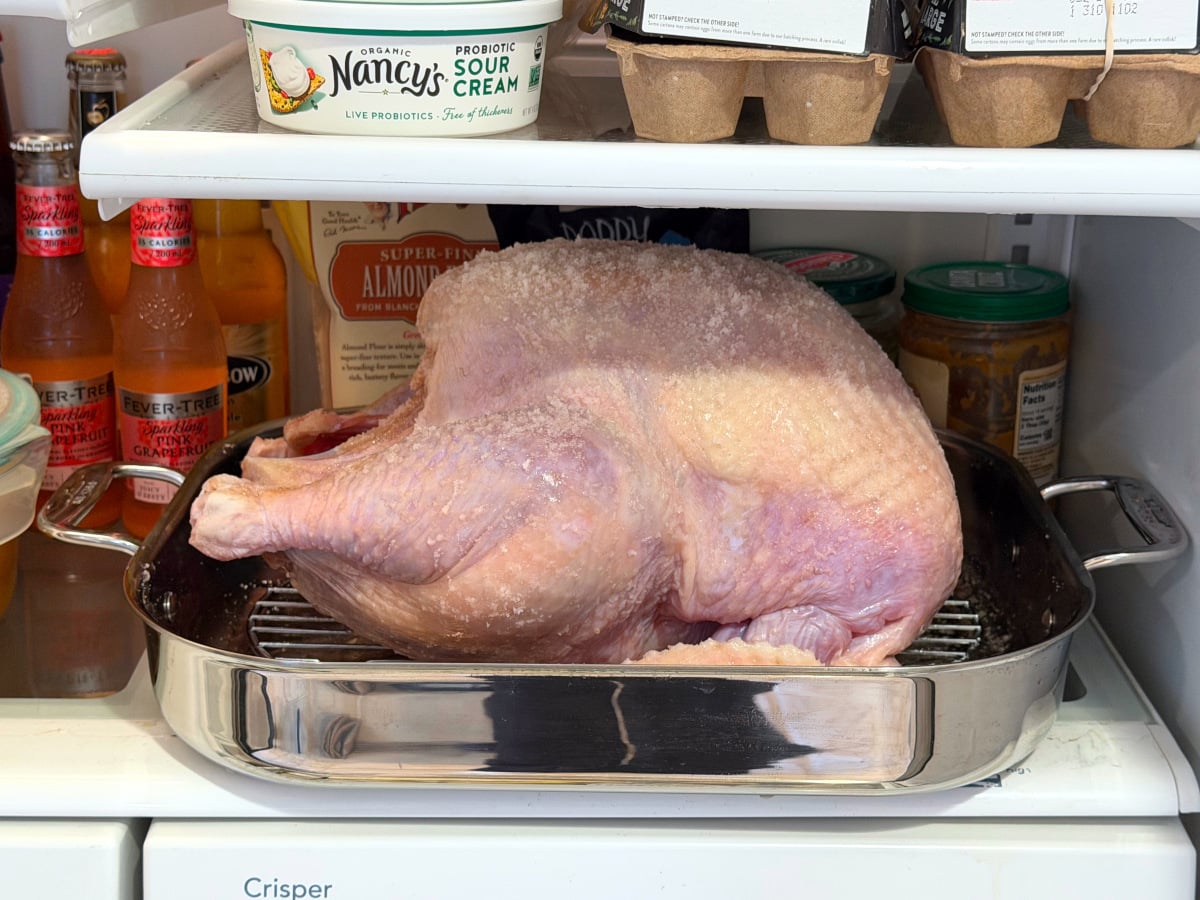
Place the salted turkey in the refrigerator, uncovered, and let it sit for 24 to 48 hours.
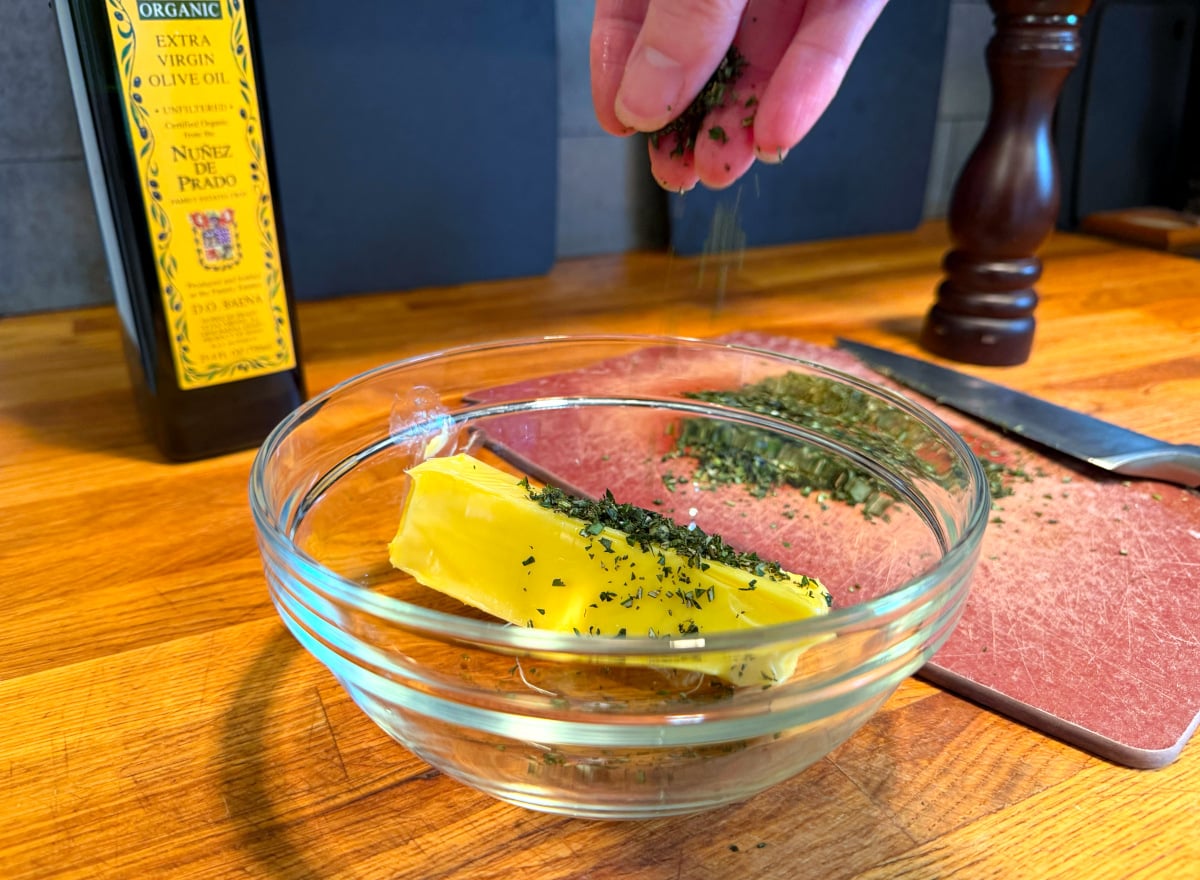
When ready to proceed, prepare the herb butter. First finely chop the thyme, sage, and rosemary. Then add the herbs, pepper, and olive oil to the softened butter, mixing until well combined.
roasting the turkey
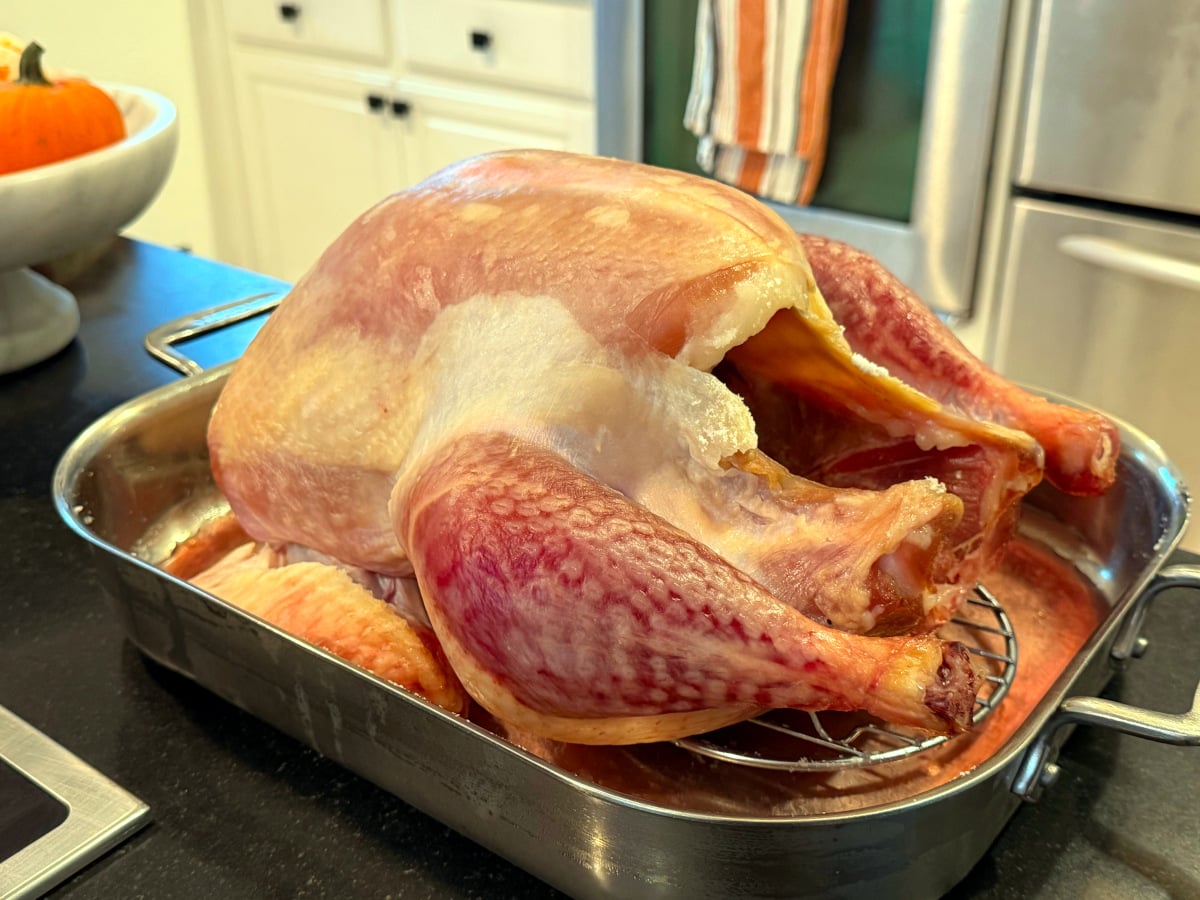
About one hour before roasting, remove the turkey from the refrigerator and let it stand at room temperature. Position a rack in the lowest part of the oven and heat to 400℉.
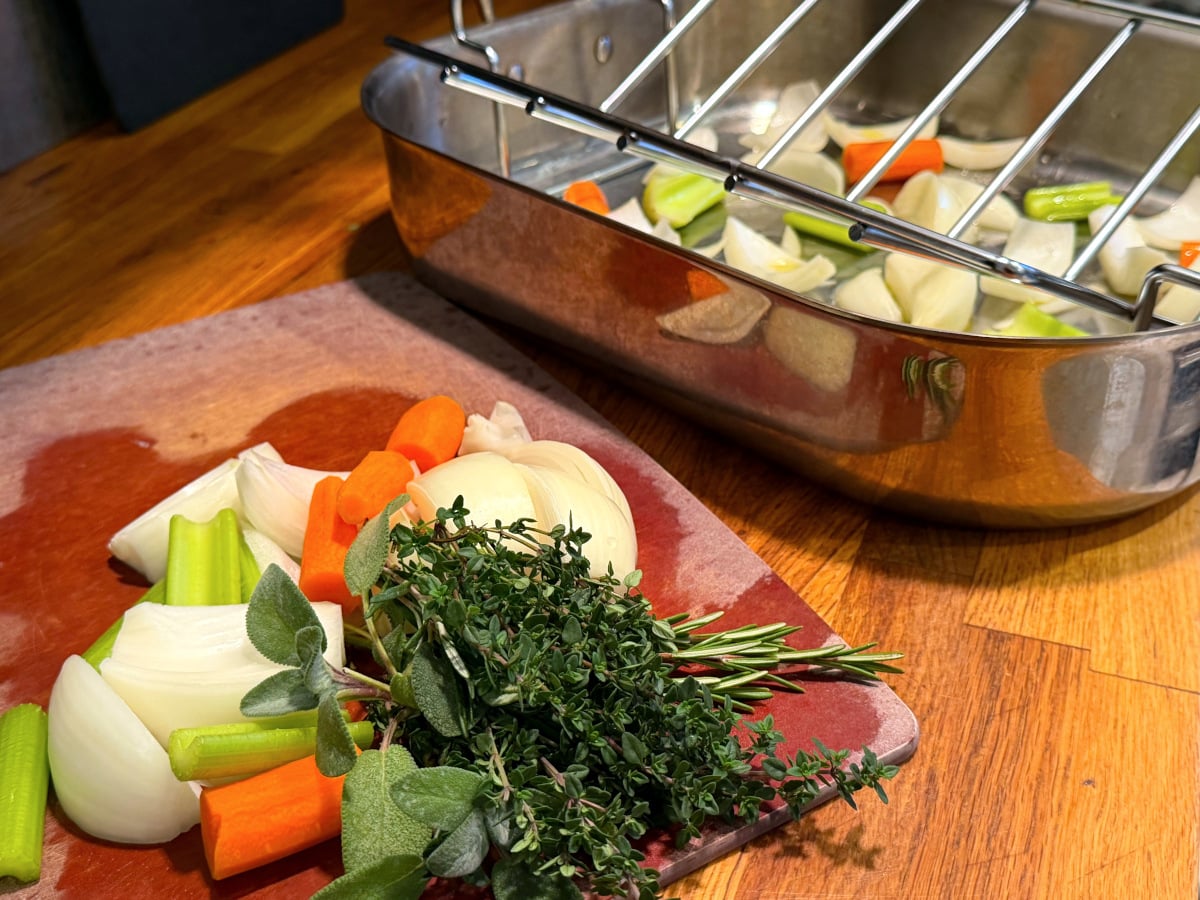
In the meantime, chop the vegetables. Scatter half of the chopped vegetables in the bottom of a large roasting pan. Drizzle over the olive oil, tossing them to coat.
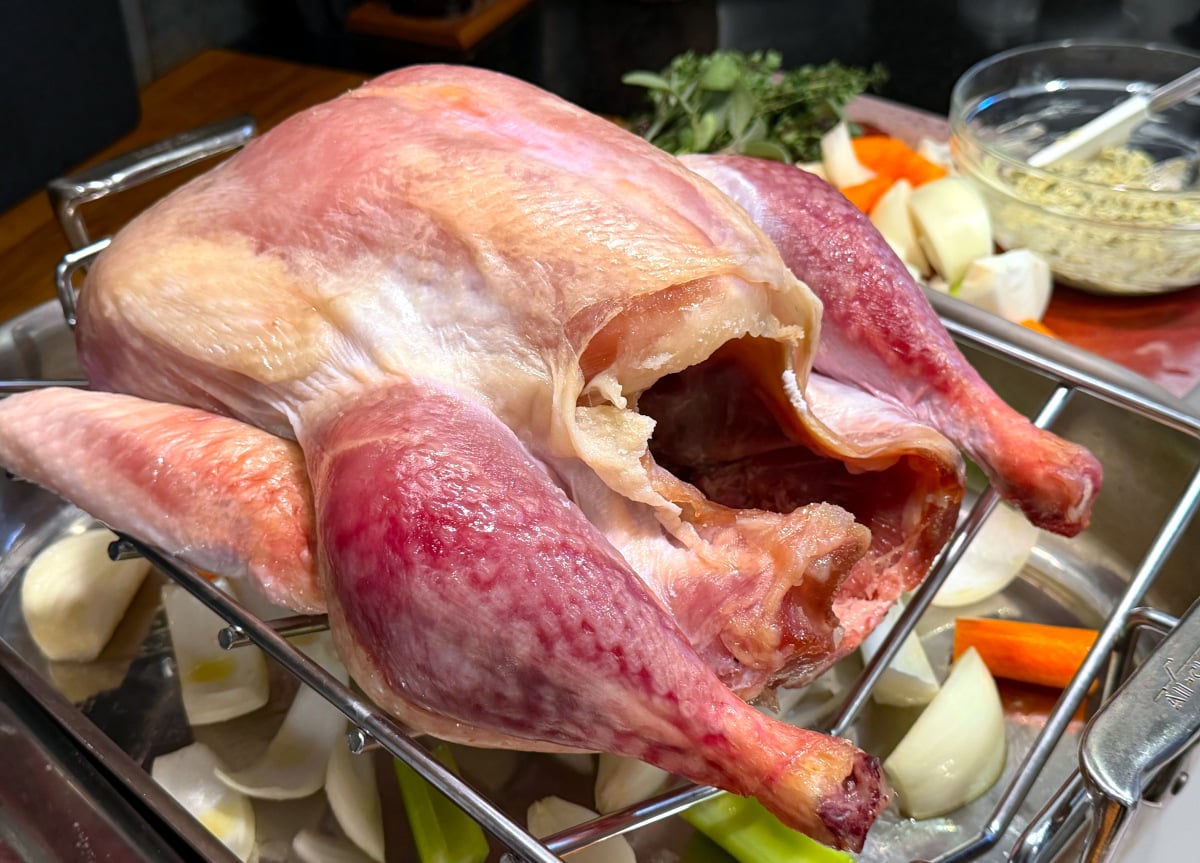
Then place the V-rack in the pan over the vegetables. Set the turkey, breast side up, on the V-rack. Place the remaining chopped vegetables, as well as the herbs, inside the turkey cavity.
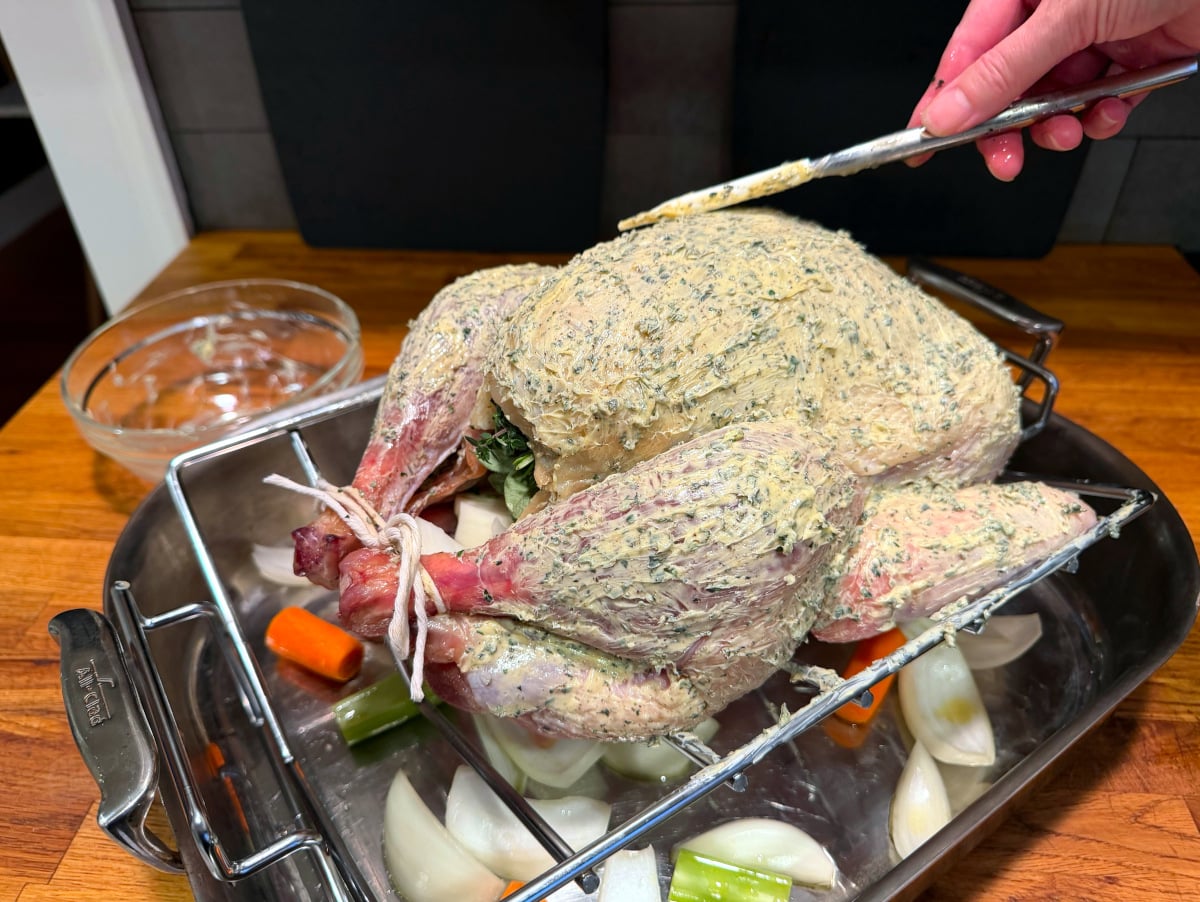
Next rub the herbed butter underneath the skin over the breasts and then all over the outside top of the turkey. Tie the legs together with kitchen twine.
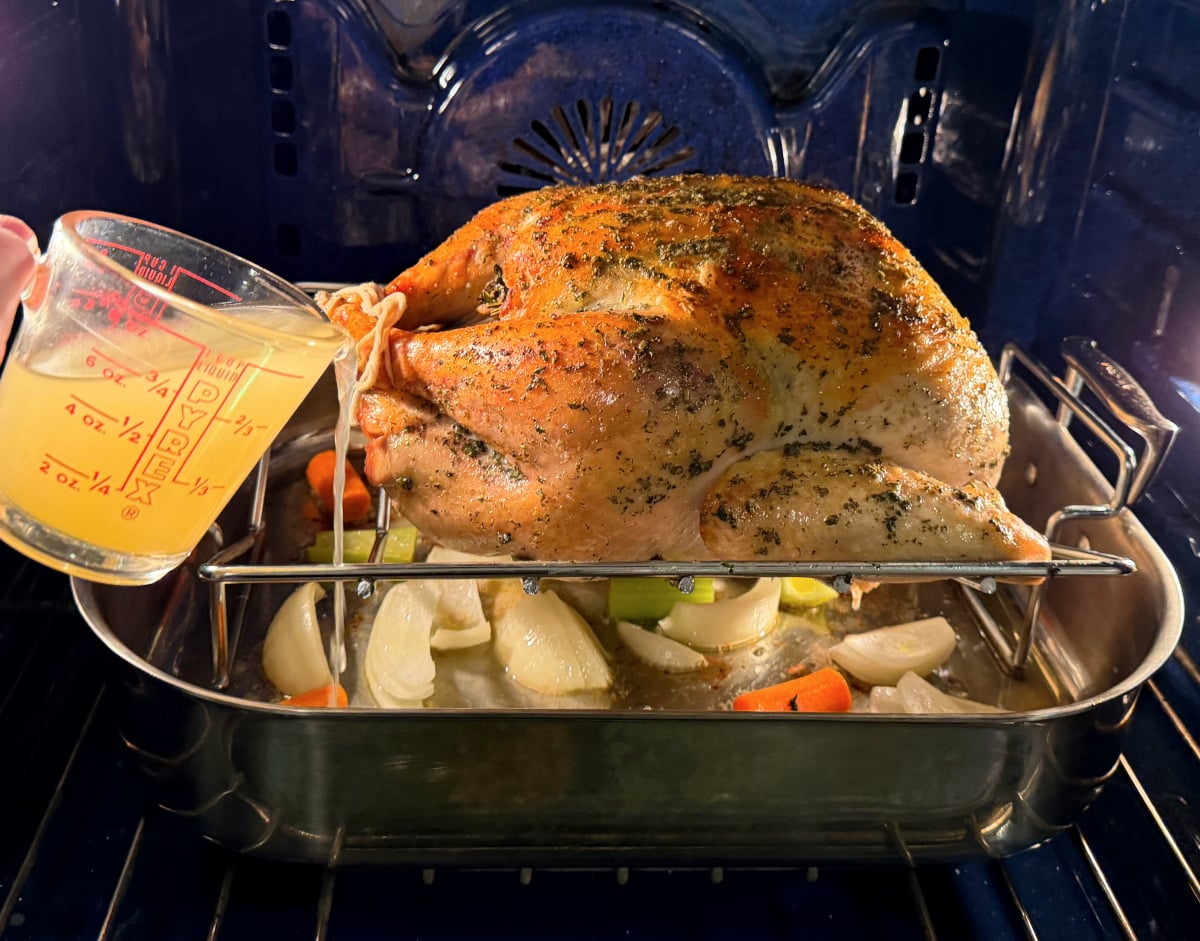
Place the turkey in the pre-heated oven. After about 30 minutes, add the broth, stock, or white wine to the bottom of the roasting pan. Then turn the heat down to 350℉.
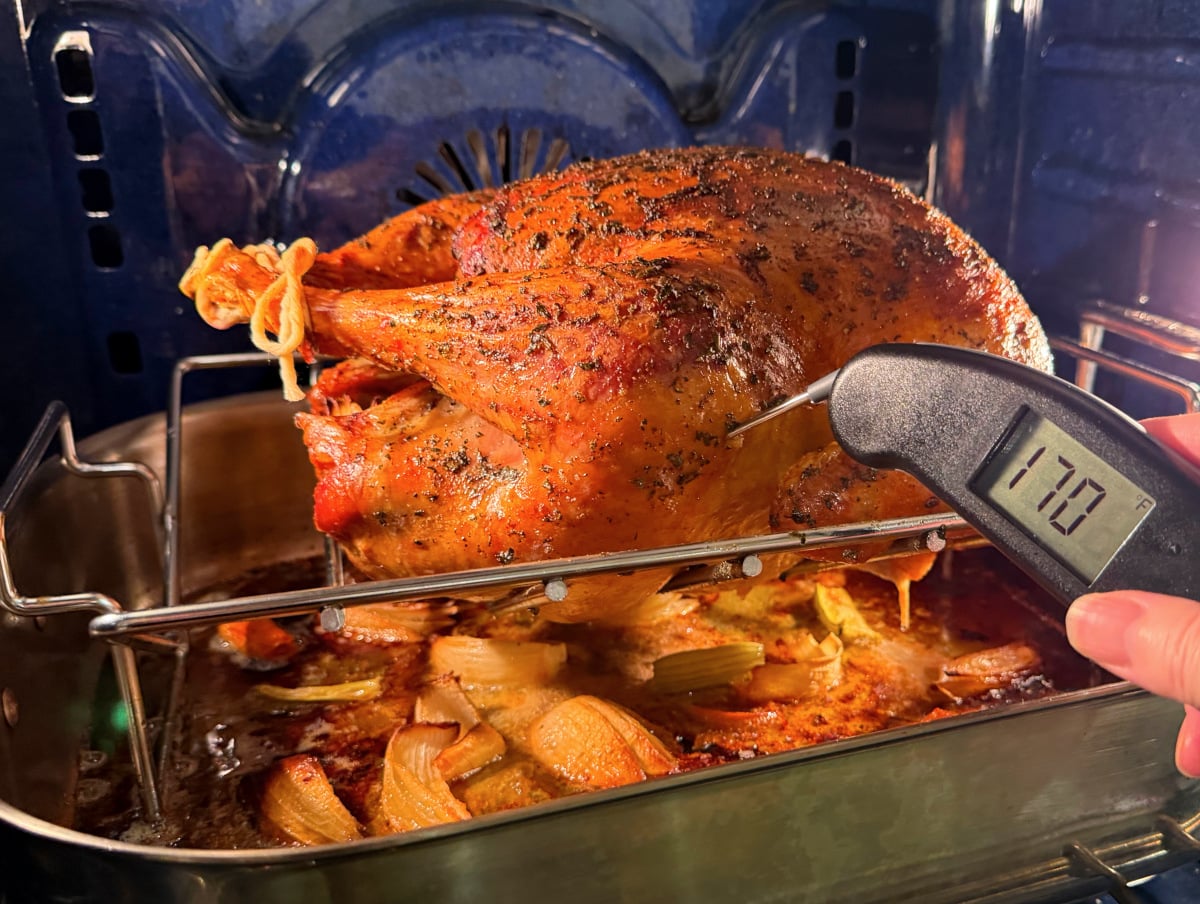
Continue to roast the turkey until an instant-read thermometer inserted into the thickest part of the thigh registers 170℉. (Roasting will take about 2½ to 3 hours total for a 12 pound bird.) Be sure to check the bottom of the pan periodically as the turkey roasts to make sure the vegetables and the drippings are browning, but not burning. (If the bottom of the pan dries out, just add a bit more liquid.)
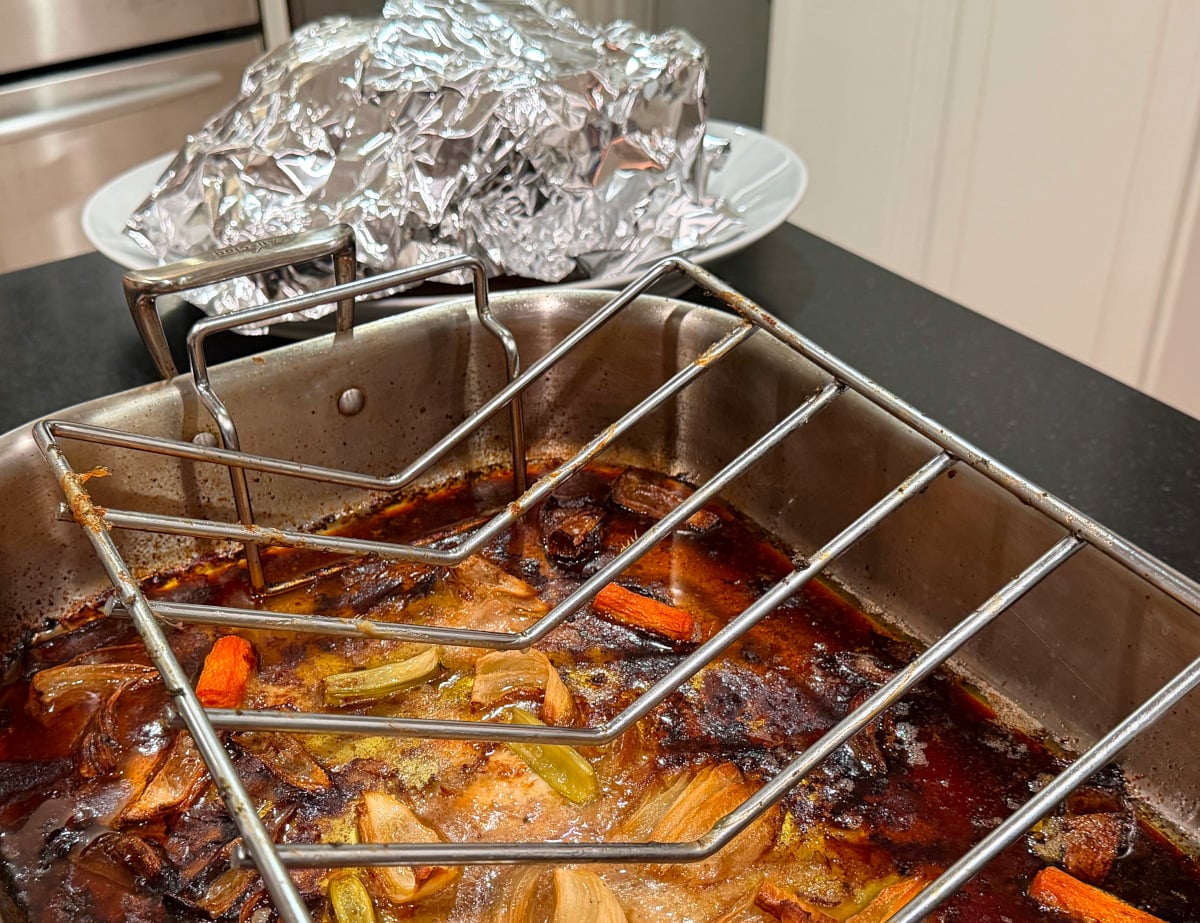
Transfer the turkey to a carving board or serving platter and tent with foil, setting aside the roasting pan with the drippings for the gravy. Let the turkey rest for 45 minutes to an hour before carving. And in the meantime, prepare the gravy!
Hint: This perfect roast turkey starts with a twelve pound bird, and this is an ideal size for a variety of reasons (not the least of which includes just basic ease of handling and finding refrigerator space when it comes to dry-brining). Most importantly, however, choosing a turkey around this size tends to yield reliably good results with respect to the roasting time required to achieve that golden brown exterior without drying out the meat. But twelve pounds is just a rough guide of course. Don't fret if your turkey happens to weigh a little more or less! (That said, if you're cooking for a big crowd, I recommend opting for two small to medium turkeys rather than one gigantic bird if possible. I've tangled with many big turkeys over the years...everywhere from 25 to FIFTY pounds...and the challenges tend to multiply just like the extra pounds when cooking a very large bird!)
Equipment
Preparing a perfect roast turkey is pretty simple, but it does require some specific tools. You will need something sturdy for the turkey to sit on during the process of dry-brining. (Either a rimmed baking sheet or other shallow pan that will fit in your refrigerator.) And you will want to place a flat rack (or combination of flat racks) underneath the turkey for this part in order to allow your bird to thoroughly dry out. When it comes time for cooking, you'll need a heavy roasting pan and a V-rack, along with a little kitchen twine. Last, but not least, an instant read thermometer is vital for ensuring that your perfect roast turkey is in fact perfectly roasted!
Storage
Leftover turkey will keep in the refrigerator for 3 to 4 days or in the freezer for up to about 3 months. (And it's terrific for all sorts of other applications, such as enchiladas, tetrazzini, soup, etc., etc...)
Top tip
Just a word about the question of "basting" turkey as it roasts. (This was very popular advice around the time I roasted my very first turkey.) While it might seem like a good idea, do not be tempted to do this! No matter what sort of basting liquid you choose, it doesn't actually permeate the meat. It does, however, manage to stop the turkey skin from getting crispy and make it leathery instead. Additionally, the process of repeatedly opening your oven lets out all the heat, which in turn necessitates a much longer period of cooking time and dried out turkey meat.
Pairing
These are my favorite dishes to go along with a perfect roast turkey:


📖 Recipe
Perfect Roast Turkey
Equipment
- rimmed baking sheet or shallow pan, lined with a rack (for dry brining in refrigerator)
- heavy roasting pan and V-rack
- instant-read thermometer
- kitchen twine
Ingredients
For Dry Brining
- 12 pound whole turkey
- ¼ cup kosher salt
For Herbed Butter
- ½ cup unsalted butter, room temperature
- 1 tablespoon extra virgin olive oil
- 2 tablespoons fresh thyme, finely chopped
- 1 tablespoon fresh sage, finely chopped
- 1 tablespoon fresh rosemary, finely chopped
- 1 teaspoon fresh ground black pepper
To Roast
- 2 medium yellow onions, cut into eighths
- 2 medium carrots, cut into one to two inch chunks
- 2 medium celery ribs, cut into one to two inch chunks
- 2 tablespoons extra virgin olive oil
- large bunch fresh thyme, sage, and rosemary sprigs
- 1 cup (or more) turkey or chicken broth (or stock) or white wine
Instructions
Dry Brining the Turkey
- Take the turkey out of its packaging. Remove the giblet packet and neck (if present in the cavity), as well as any nylon truss (or other item) used for holding the legs together. Reserve and set aside the giblets (except the liver) and the neck for later preparing the gravy.
- Place the turkey on a rimmed baking sheet (or other shallow pan) lined with a flat rack (or combination of flat racks). Then gently separate the skin from the breast, ultimately working your hand between the skin and the meat from both ends of the bird.
- Pat the entire turkey dry with paper towels. Then rub about a tablespoon of salt under the skin of each breast and sprinkle the rest of the salt over the entire outside of the bird, being sure to thoroughly cover the breast and thigh areas in particular. (Start by salting the back, and then flip it over to the front, tucking the wings behind the neck and underneath the turkey before finally salting the across the breast meat.)
- Place the salted turkey in the refrigerator, uncovered, for 24 to 48 hours.
Preparing the Herbed Butter
- Finely chop the thyme, sage, and rosemary leaves. Then add the herbs, black pepper, and olive oil to the softened butter, mixing until well combined.
Roasting the Turkey
- About one hour before roasting, remove the turkey from the refrigerator and let it stand at room temperature. Then position a rack in the lowest part of the oven and heat to 400℉.
- Scatter half of the chopped vegetables in the bottom of a large roasting pan. Drizzle over the olive oil, tossing them to coat. Then place the V-rack in the pan over the vegetables. Set the turkey, breast side up, on the V-rack. Place the remaining chopped vegetables, as well as the herbs, inside the turkey cavity.
- Then rub the herbed butter underneath the skin over the breasts and all over the outside top of the turkey. Tie the legs together with kitchen twine.
- Place the turkey in the oven. After about 30 minutes, add the broth, stock, or white wine to the bottom of the roasting pan. Turn the heat down to 350℉.
- Continue to roast the turkey until an instant-read thermometer inserted into the thickest part of the thigh registers 170℉. (Roasting will take about 2½ to 3 hours total for a 12 pound bird.) Be sure to check the bottom of the pan periodically as the turkey roasts to make sure the vegetables and the drippings are browning, but not burning. If the bottom of the pan dries out, just add a bit more liquid.
- Transfer the turkey to a carving board or serving platter, setting aside the roasting pan with the drippings for the gravy. Tent with foil, and let the turkey rest for 45 minutes to an hour before carving. In the meantime, prepare the gravy!


Leave a Reply